
Near the world of Roganah,
Rebels are rushing to retrieve critical crates hidden in space.
Sold by some traitors, the Imperial navy is dispatching units in the area.
This is now a race
 |
| Imperial units |
 |
| Rebel units |
 |
| Reb retrieval task force, lead by the YT-1300 Crusher |
 |
| Imperial strike force lead by the Corellian Corvette Naboo |
As the 2 groups faced each other, the objectives were clear. Get these crates and move away as soon as possible.
The imperial commander had decided to assign 1 group of Tie Fighter (Beta squadron) to protect the transports (Omicron) while the second group (Alpha squadron) would protect the corvette. The Tie Interceptor (Delta squadron) would attack the shuttles (Lambda). A third Tie Fighter squadron, Eta would cover south of the map.
The Rebel strategy was clear. At the last moment, they would steer away from the interceptors and deal with each Tie Fighter force independently. After the Tie Fighters are cleared B-Wing and Y-wing of Gold squadron would engage the corvette. This was called a Virdian Move.
 |
| The path is clear. |
 |
| Let's move! |
turn 2(2,6)
As the rebel seemed to engage in a frontal attack, the imperial commander decided to slow down, in fear that the rebel had decided to destroy the corvette. (Empire failed to activate, all move 1 speed only). Meanwhile the rebel decided to perform the Virdian move and the first shuttle docked on the first objective.
 |
| The typical Virdian move |
 |
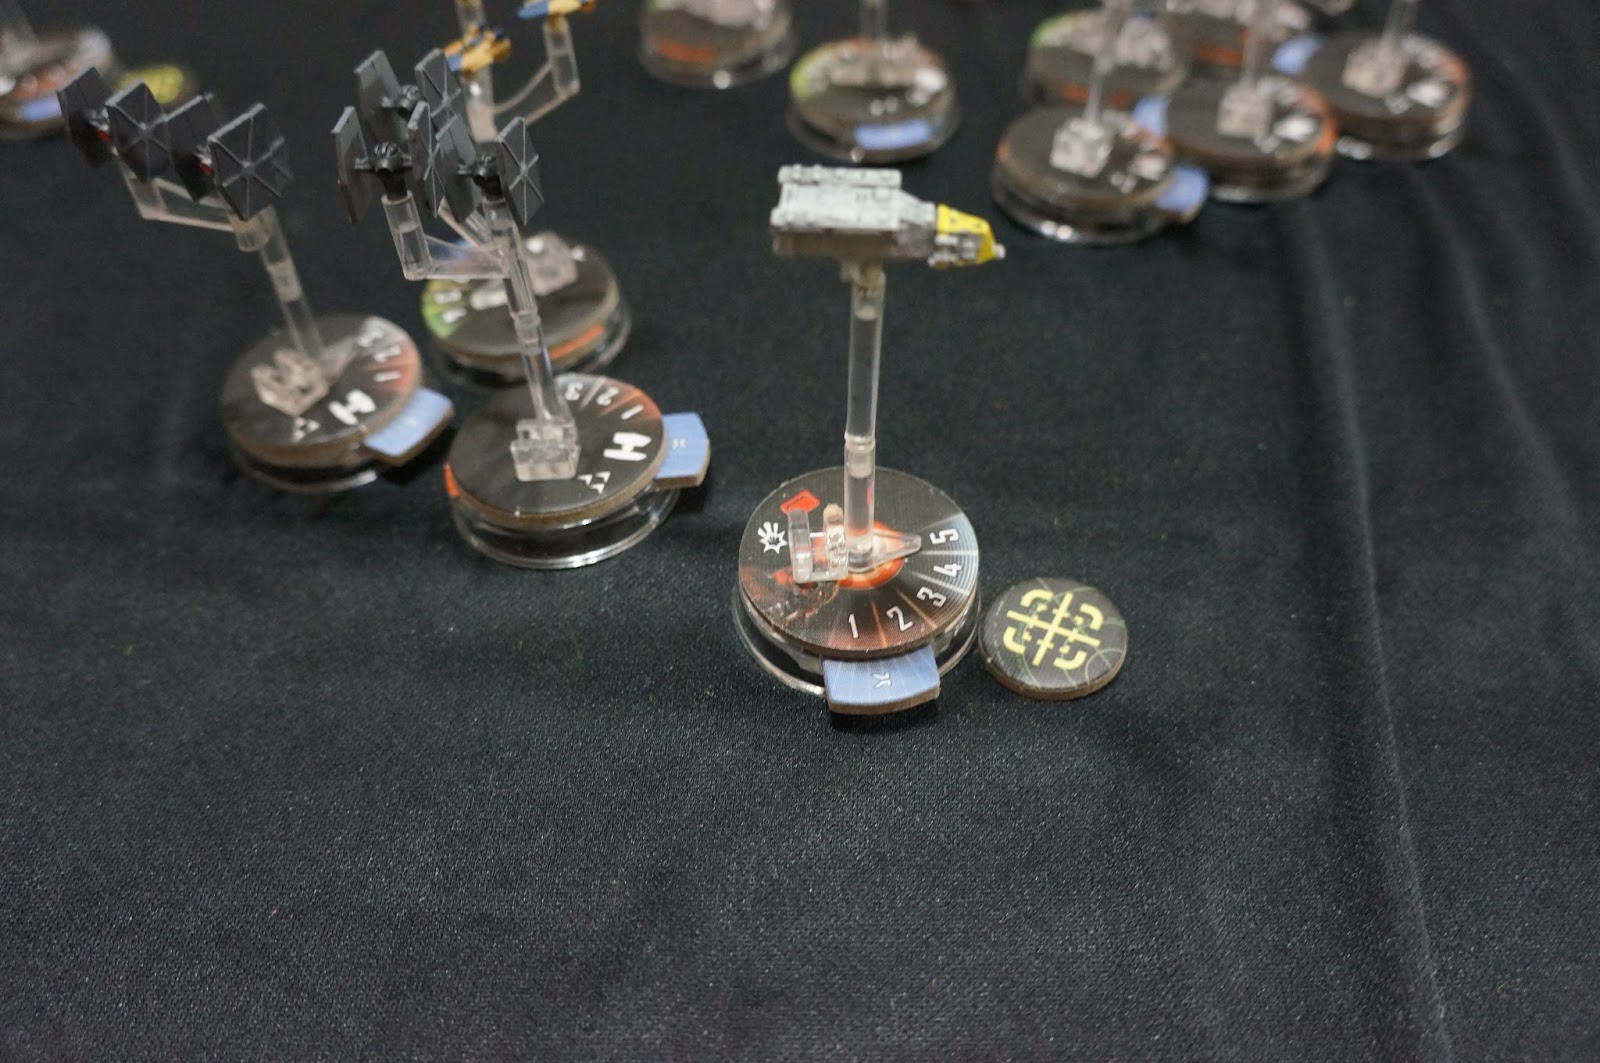
| Tie Fighter Beta almost in range |
turn 3(1,6)
The imperial commander was still under shock. A Virdian move is so outdated, how did they dare?
The Rebel kept pushing and quickly dispatched the Beta squadron (As the Rebel have initiative, they move after the Tie Fighter but shoot first).
"Shuttle Lambda 1, report docking operation complete."
"Prepare to jump to hyperspace as soon as possible. Their interceptors are not going to be passive for ever"
"Roger that. Leaving the area. Good luck."
"Lambda 2 starting docking operation."
 |
| Shuttle Lambda 1, report docking operation complete. |
 |
| Heavy engagement |
 |
| The imperial have not the initiative |
 |
| Tie Figther Beta have been annihilated. Top shuttle docked |
turn 4(4,3)
With the loss of the first group of Tie Fighter, the imperial commander recovered.
"Transport, resume operation. Tie Figthter Alpha squadron to destroy all Rebel bombers. Eta, engage their fighters. Delta squadron to intercept any shuttle leaving the area."
In a short time, all imperial ships resumed their operation.
"Omicron 1, starting docking operation"
"Omicron 2, starting docking operation"
"Omicron 3, starting docking operation"
"Firespray, closing in crate"
 |
| "Omicron 2, starting docking operation" |
 |
| "Omicron 1, starting docking operation" |
 |
| "Omicron 3, starting docking operation" |
"Eta squadron engaging A-wing"
As the imperial closed in, the A-wing move to intercept the Eta squadron, it was a brutal frontal engagement where the A-wing had a little chance to survive.
The A-wing fell but not without taking a significant number of Tie Figthers with them. (thx to counter 2)
Alpha squadron engaged the B-wing but did limited damage to them, while the shoot back left the Tie Fighters almost unscathed. (as the B-wing are moving to engage the transport during that turn, during their shooting phase they shot with -1 die at the tie fighters)
As the imperial closed in, the A-wing move to intercept the Eta squadron, it was a brutal frontal engagement where the A-wing had a little chance to survive.
 |
| Courageous A-Wing engaging overwhelmed force |
 |
| They took many out, but that was too many Tie Fighters |
 |
| The rebel are trying to disable the imperial transport and are caught on the way by Alpha squadron |
 |
| Lambda 1 heading to hyperspace |
turn 5(5,4)
Nobody has initiative. All ships/fighters move only 1.
"All Omicron reporting docking operation complete. Request order to leave the area."
"Order confirmed Omicron team, head to rendezvous point, we will clear these rebel scum"
"Firespray docked."
 |
| Docking operation complete |
 |
| Docking operation complete |
 |
| Engaging the transport before it jumps |
 |
| Firespray docking |
As the same time, Delta squadron hesitated on which shuttle to attack, as Lambda 1 jumped into hyperspace (rebel 3, 0 Empire). Lambda 2 may survive long enough to jump.
 |
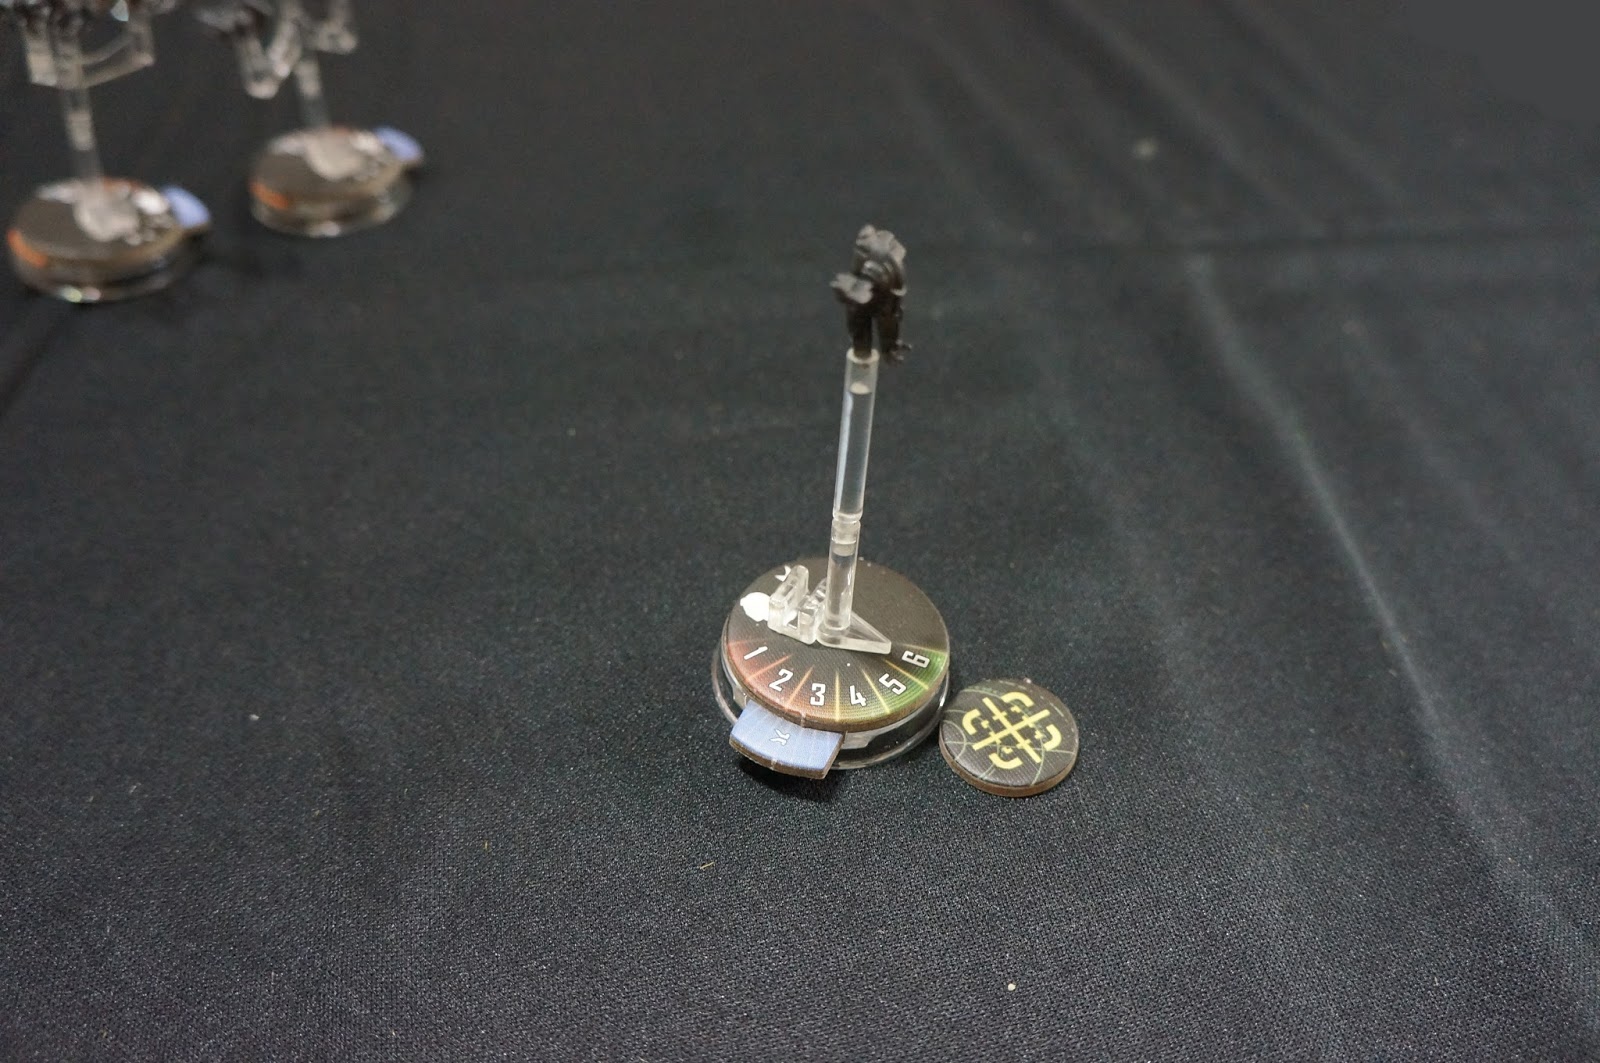
| Tie Interceptors are (slowly) heading to destroy Lambda 2 |
For the rebel, the situation was critical.
Massive swarm of Tie Fighters are ineffectively shooting at the YT-1300 and the B-wing, while rebel shooting was more accurate.
The rebel decided to split their shooting, leaving some tie fighters alive and aimed at the Omicron transport before it jumped to hyperspace (shooting Omicron transport
dealt 3 dmg).
 |
| "Look out Gold 2, you have one on your tail" "Coming in Gold 3, ... Yeah, I got it." |
 |
| Lamdba 2, docking operation complete, calculating hyperspace jump |
turn 6(5,6)
"Lambda team, Crusher will keep the tie fighters busy. Disable that transport. He should not leave the area."
The Crusher focused on the tie fighter and brought one more unit down, and the remaining tie fighters decided to concentrate on it. The smuggler ship was severely punished but still operational.
Lambda 2 and 3 shot down the Omicron transport.
The Crusher focused on the tie fighter and brought one more unit down, and the remaining tie fighters decided to concentrate on it. The smuggler ship was severely punished but still operational.
Lambda 2 and 3 shot down the Omicron transport.
On their way to the Naboo, the Y-wing came close to the interceptor and they exchanged fire without consequence. The Delta squadron was rushing to intercept Lambda 2.
 |
| Yellow squadrons, intercept that corvette |
 |
| Imperial have 4 crates. Rebel have secured 2. Soon the Imperial transport in the north will become stardust. |
 |
| Tie Interceptor are about to close in on that shuttle.... too late |
turn 7(4,5), turn 8(2,6)
Just as the Rebel were seeing hope, the Tie Fighters finished the YT-1300, and Lambda 3 finished them.
"Gold Squadron, get that Corvette out, we can still do it."
"confirmed, torpedos locked. Fire!".
"Gold Squadron, get that Corvette out, we can still do it."
"confirmed, torpedos locked. Fire!".
The bomber run on the
Corvette bring its shields down and damaged its ammunition compartment.
The imperial commander remained calm.
"Situation?"
"Hull damaged on area 2 and 3, breached sealed. We have limited offensive capability."
"Order AA team to concentrate fire to disrupt their attacks. There will be no second chance"
As the Naboo was shooting at the Y-wing, a lone B-wing positioned itself right behind its engine and fired at will its last torpedoes. The Naboo frantically barreled as internal explosion were ripping it apart.
"Yeah! Take that Vador"
"Lambda 3, rush to the last crate, we bring you cover"
Y-wing completely missed the Naboo, the B-Wing dealt 2 damages and destroyed it.
 |
| Torpedo! The corvette has no way to avoid its fate |
turn 9(2,1)
As the last Rebel raced to the remaining crate, the Delta squadron moved full speed behind the shuttle. Too slow, Lambda 3 stood no chance against the concentrated fire of the tie interceptor.
The Y-wing and B-wing watched the last hope to win exploding. They readied themselves to shoot the tie interceptors from their 6's but suddenly the imperial figthers performed a narrow u-turn and them destroyed in a second the last B-wings.
 |
| Tie Interceptor finally caught fleeing rebels and make them pay |
turn 10(4,5), turn
11(5,2), turn 12(,)
The Y-wing Gold squadron finished a group of Delta and started a deadly dance.
2 times, the Y-wing were in a position to hit the interceptors, 2 times they dodged at the last minute.
It became evident to the Y-wing they were played with. Order to withdraw arrived, but too late...
2 times, the Y-wing were in a position to hit the interceptors, 2 times they dodged at the last minute.
It became evident to the Y-wing they were played with. Order to withdraw arrived, but too late...

 |
| This is the last one. -Take the shot Delta 3, it's yours. |
Imperial: 3 information, 9 VP
Rebel: 2 information +
1 corvette, 7 VP
Left 1 tie
No comments:
Post a Comment